Hot reloading for iOS and macOS Xcode Projects
25 Apr 2022Hot reloading for iOS and macOS Xcode Projects
If you are looking to speed up your workflow by using hot reloading in your iOS and macOS apps, you came to the right place.
UI development in iOS can get tedious to say the least. Make a change, build, wait, simulator starts, wait, attach, see your changes. Wrong shade of blue. Repeat again.
Even though SwiftUI does allow live previewing (which is not the same as hot reloading), it is still not as ubiquitous or reliable in production environments. Things might get better a month from now, but most codebases will still not get those improvements for a few years.
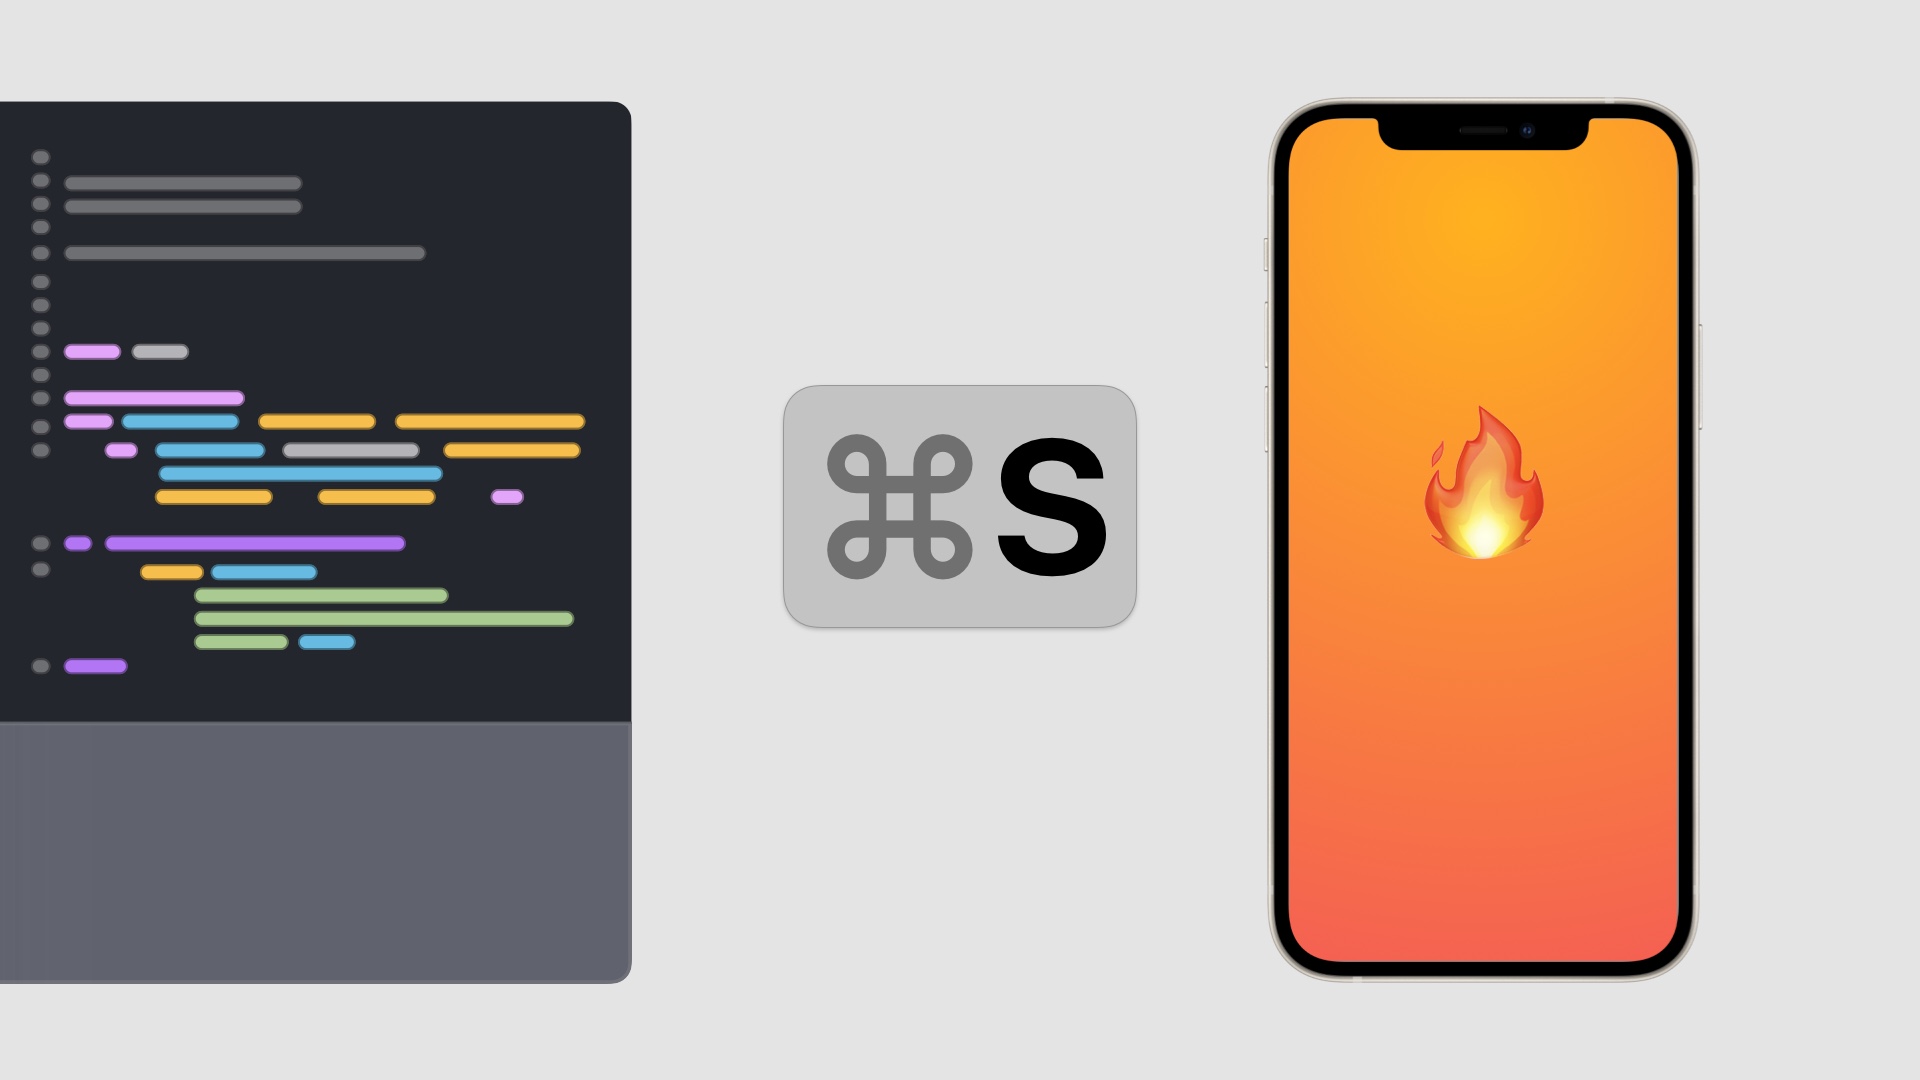
But fear not, this is where the InjectionIII and Inject projects by John Hodsworth and Krzysztof Zabłocki come into play. They allow hot reloading of your apps while actually running them, whether in the simulator or in the actual app for macOS (more on this later). The workflow ends up looking like this:
A mockup of the keyboard in motion.
I've spent a few days diving in and seeing how easy this is to implement and use day to day. To achieve this, I set out to test as many flavors of apps as possible:
- UIKit apps on iOS
- UIKit apps on macOS (Catalyst)
- SwiftUI inside UIKit apps on iOS
- SwiftUI apps on iOS
- SwiftUI apps on macOS
- AppKit apps on macOS
- iOS Apps on M1 Macs (aka "iPad apps on the Mac")
I will cover if and how each one works, you can follow along with the sample project.
Common setup steps
Regardless of the platform and framework you are targeting, you will need to perform the following steps:
- Donwolad and install the latest release of the InjectionIII app
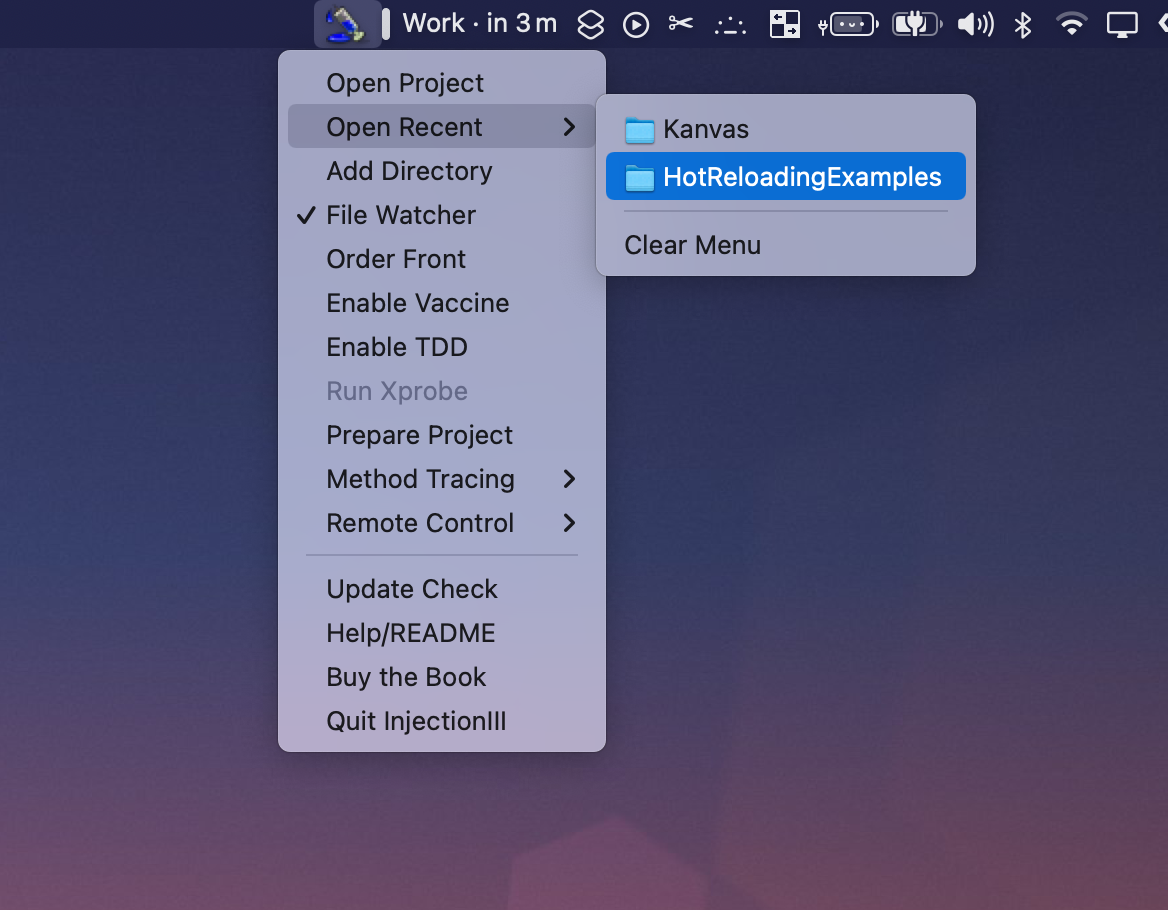
- Once installed, run
InjectionIII.appand select your current project (in the example, "HotReloadingExamples") :
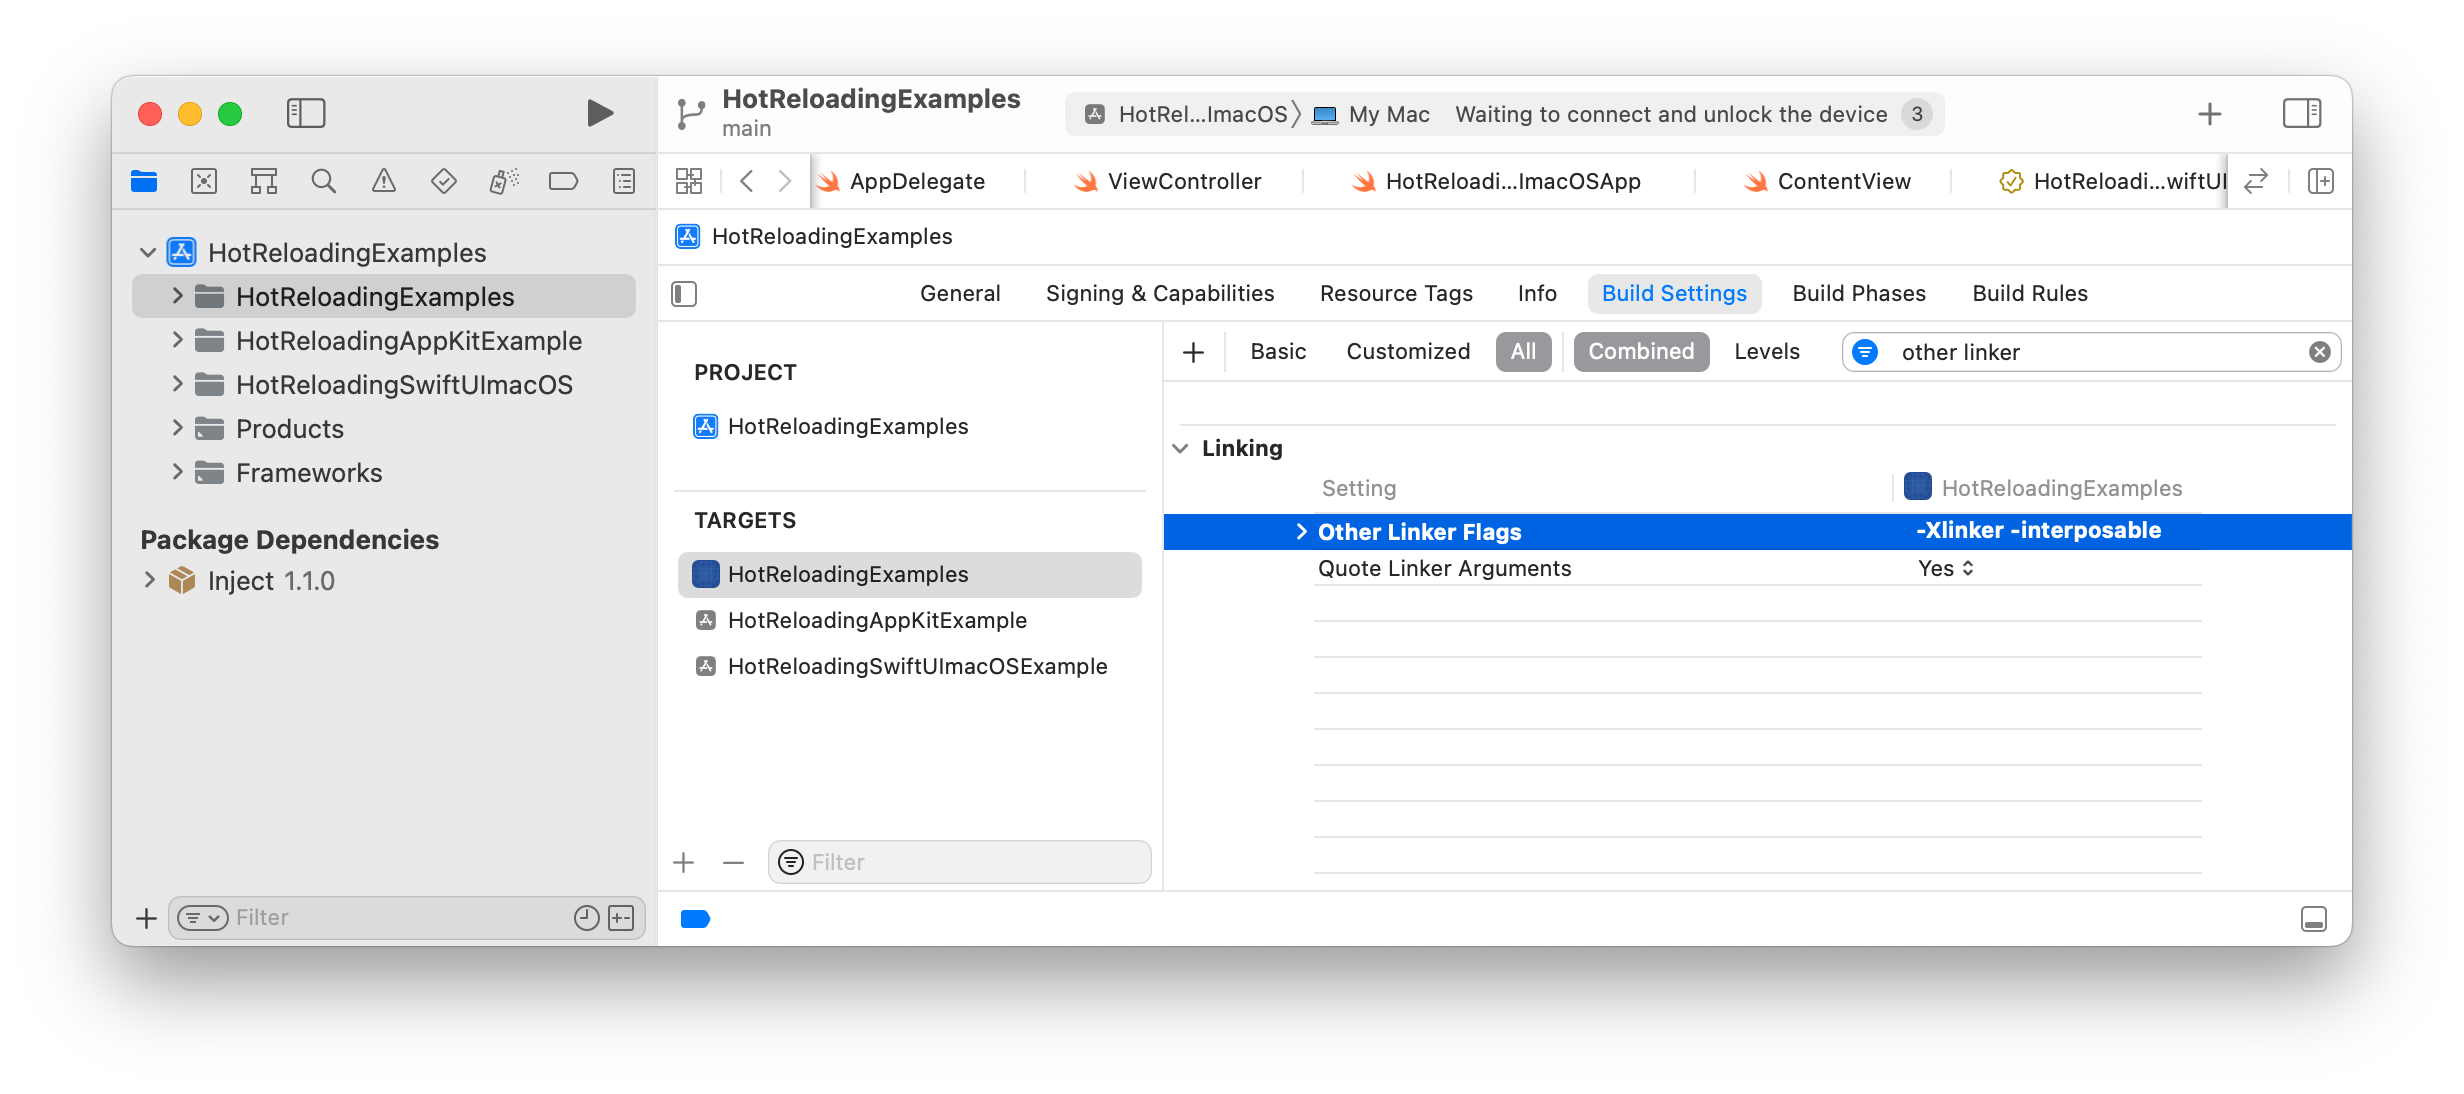
- Add linker flags
- In your Xcode project, go to the specific target (for instance, your iOS App Target)
- Under Build Settings, in the Linking section, add
-Xlinker -interposableflags
- Import the 'Inject' project dependency. You can add it as a Swift Package using these steps
UIKit apps on iOS
This is the main use case for hot reloading. In addition to the previous steps, you need to use a ViewHost or ViewControllerHost when assigning the UIViewController you are working with.
As an example, if you have the following code in your SceneDelegate.swift:
let mainViewController = MainViewController()
window = UIWindow(windowScene: windowScene)
window?.rootViewController = UINavigationController(rootViewController: mainViewController)
window?.makeKeyAndVisible()
You only need to modify one line:
let injectViewController = Inject.ViewControllerHost(MainViewController())
window = UIWindow(windowScene: windowScene)
window?.rootViewController = UINavigationController(rootViewController: injectViewController)
window?.makeKeyAndVisible()
Once you build run, you can now iterate on your code inside your MainViewController.swift file, and see its updates by pressing ⌘ + S.
Limitations
Note that only the top level controller you wrap inside ViewControllerHost will be updated. If you have nested controllers, you will need to also wrap them in order for injection to work.
From the Injection repo:
Make sure to call initializer inside Inject.ViewControllerHost(...) or Inject.ViewHost(...). Inject relies on @autoclosure to reload views when hot-reload happens. Example:
// WRONG
let viewController = YourViewController()
rootViewController.pushViewController(Inject.ViewControllerHost(viewController), animated: true)

// CORRECT
let viewController = Inject.ViewControllerHost(YourViewController())
rootViewController.pushViewController(viewController, animated: true)
UIKit apps on macOS (Catalyst)
One of the trickiest use cases to work on, since we are now running the actual an in our Mac, not in a simulator. Since Catalyst relies on UIKit, you need to perform both the common steps and the ones mentioned above for UIKit apps on iOS.
In addition, you need to:
- Disable the
App Sandboxin your app's entitlements. - Set
Disable Library ValidationtoYES, in order to allow third party code to be run inside your app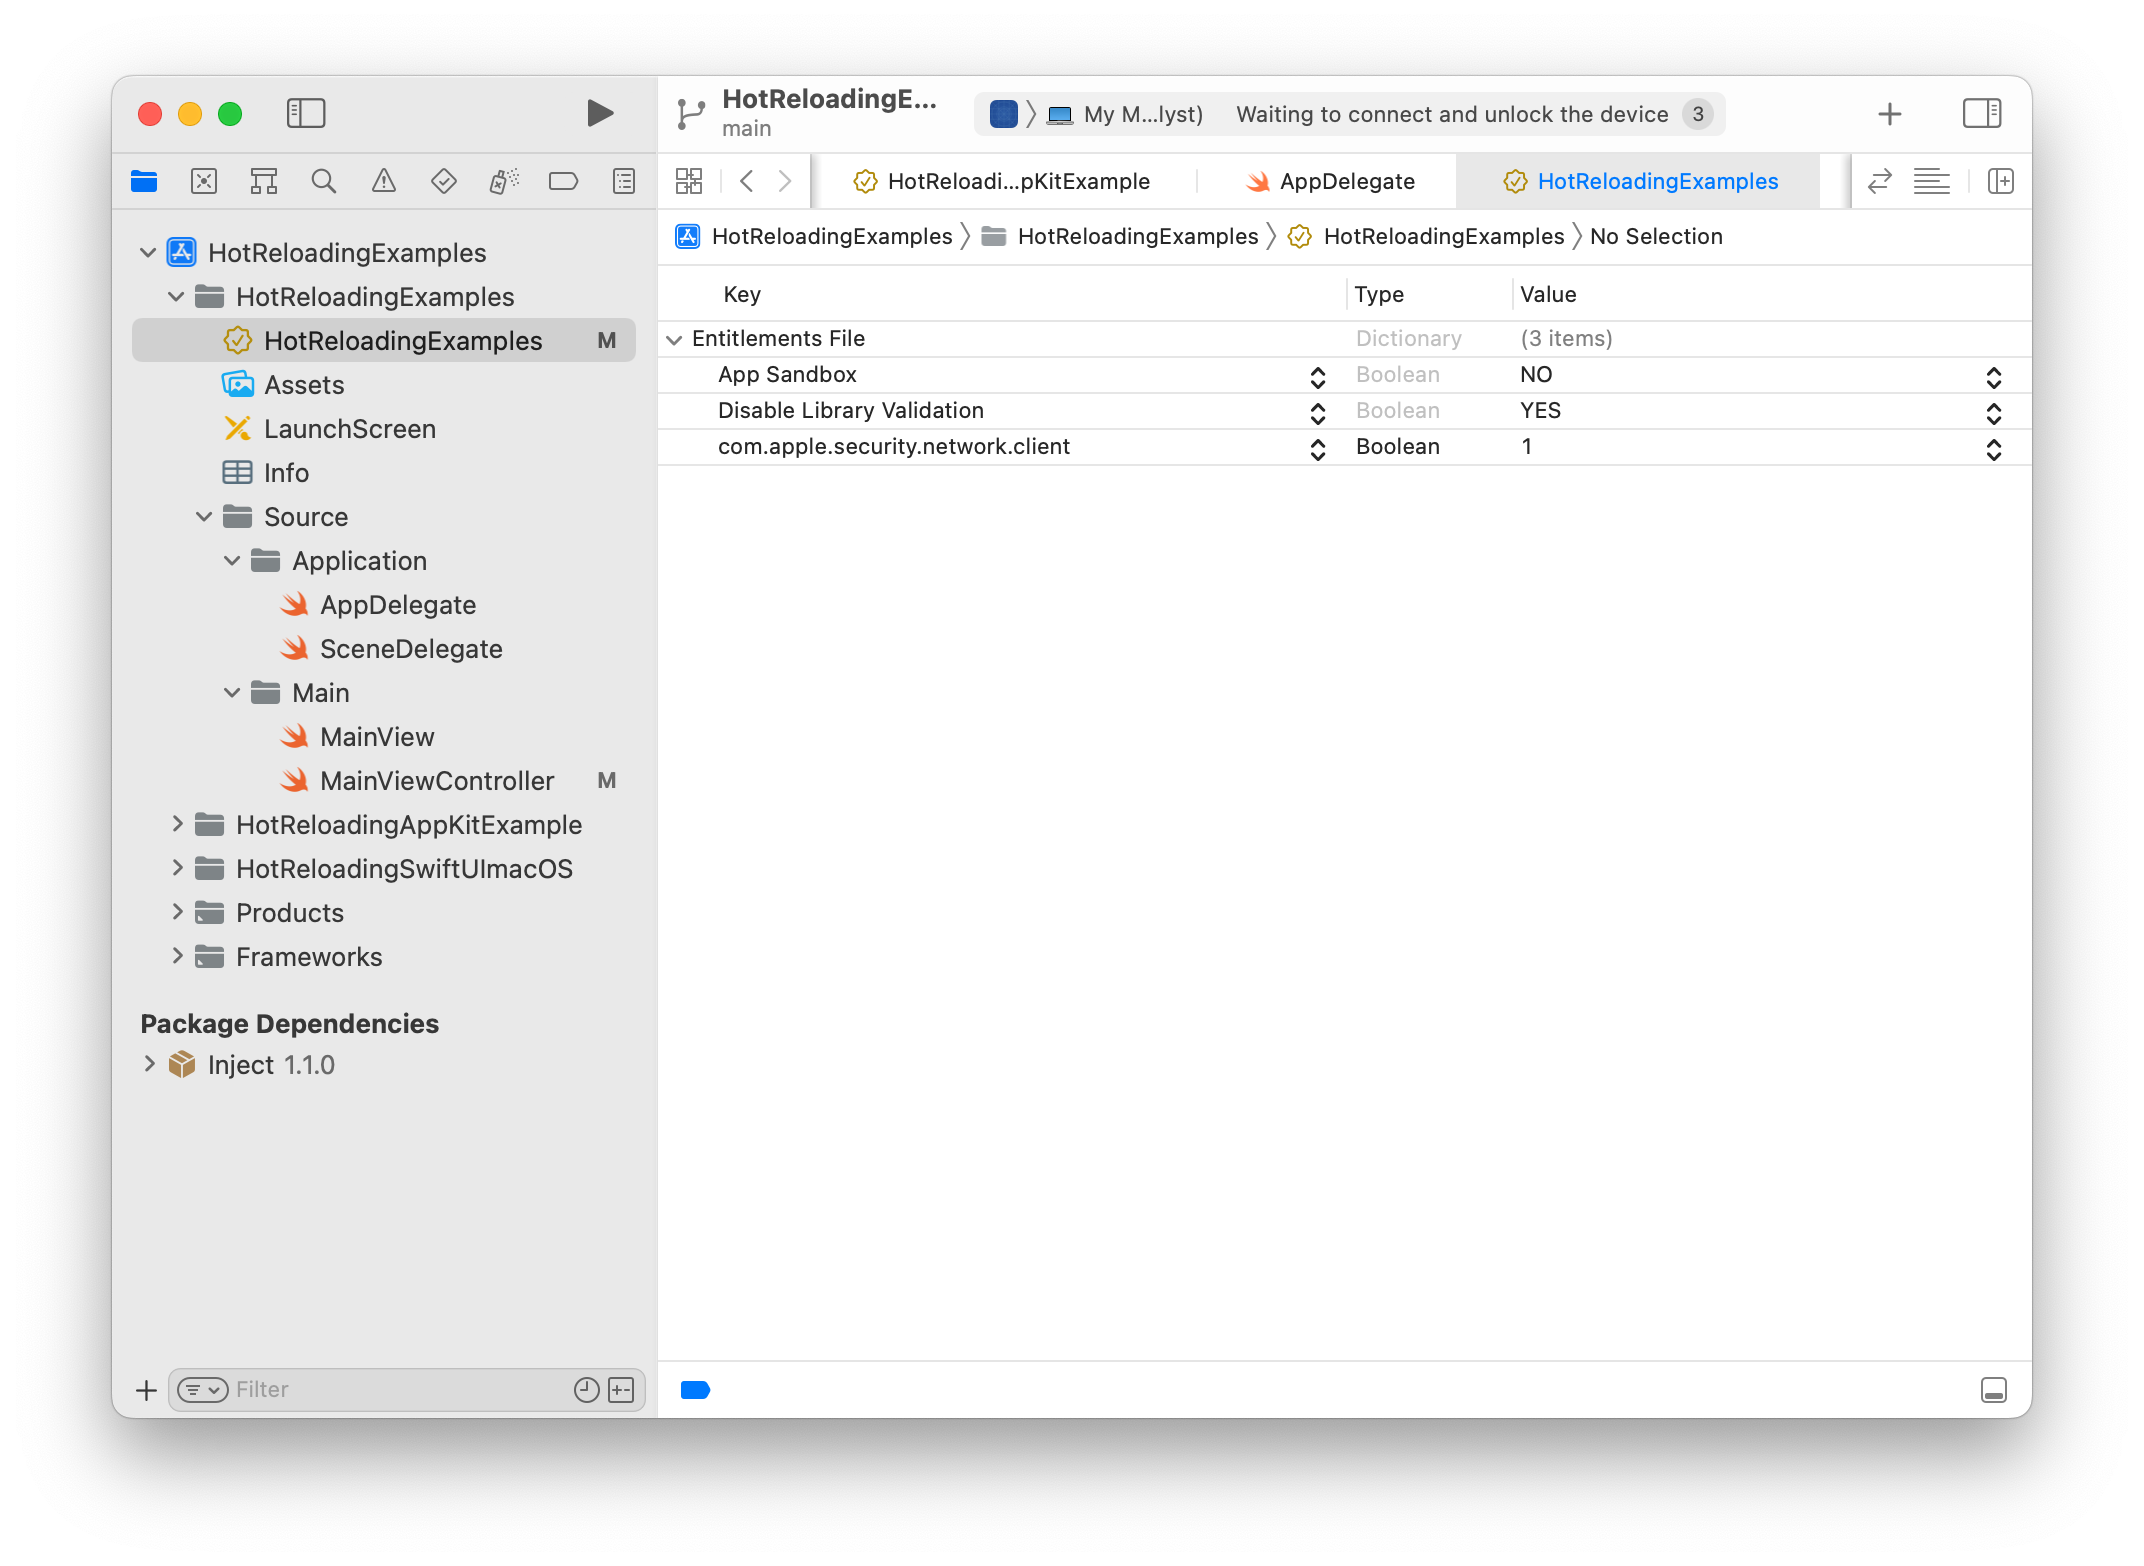
- Load the correct bundle
macOSInjection.bundle.
By default, InjectionIII will try to load maciOSInjection.bundle, which will be incompatible. To implicitly load the correct bundle, you need to add the following to your AppDelegate.swift:
#if targetEnvironment(macCatalyst)
Bundle(path: "/Applications/InjectionIII.app/Contents/Resources/macOSInjection.bundle")!.load()
#endif
You can find more information about Catalyst and Injection here.
SwiftUI inside UIKit apps on iOS
To ease the transition to SwiftUI, many teams choose to integrate It inside UIKit apps with the help of UIHostingController.
Common sense would mean something like this should work:
let hostingController = UIHostingController(rootView: SwiftUIView())
let injectViewController = Inject.ViewControllerHost(hostingController)
window?.rootViewController = UINavigationController(rootViewController: injectViewController)
But as stated previously, we need to use the top-level view we are wrapping (in this case, the UIHostingController, and not the SwiftUI view). So we would need access to the UIHostingController implementation, or create a SwiftUIViewHost that that would handle this use case.
For SwiftUI inside UIKit apps on iOS, the best bet is to use SwiftUI previews.
SwiftUI apps on iOS
Pure SwiftUI apps (that is, without an App/Scene Delegate lifecycle) have relatively straightforward support.
Suppose we start out with a simple SwiftUI view:
struct SwiftUIView: View {
    var body: some View {
        VStack {
            Text("Hello, SwiftUI!")
        }.enableInjection()
    }
}
All we need to support injection is add two lines: - @ObservedObject var inject = Inject.observer - .enableInjection()
struct SwiftUIView: View {
    @ObservedObject var inject = Inject.observer
    var body: some View {
        VStack {
            Text("Hello, SwiftUI!")
        }.enableInjection()
    }
}
You can see a practical demonstration in Marco Eidinger's sample app
SwiftUI apps on macOS
The procedure is identical to the iOS version explained above, with the addition of:
- Disabling App Sandbox
- Enabling "Disable Library Validation"
You can check out the sample project for an example, with the coresponding HotReloadingSwiftUImacOS app target.
AppKit apps on macOS
Just like Catalyst, working on macOS requires disabling the sandbox and disabling library validation, and wrapping our controller in ViewControllerHost:
let controller = Inject.ViewControllerHost(ViewController())
window.contentViewController = controller
iOS Apps on M1 Macs (aka "iPad apps on the Mac")
Like its name, this use case is the most complicated to integrate hot reloading. For starters, we are running the app directly on our device, so we would need to disable library validation. However, it acts as an iOS app, making this impossible.
The InjectionII repo includes a build script we can use to sign the bundle. However, I have not been able to make It work in practice.
It is thus strongly recommended to just go with developing iPad apps on the Mac on an iPad simulator.
Conclusion
Hopefully this guide saves you some hours/minutes in setting up your projects, and even days or weeks in day to day work. It has made working on Codye much more pleasant, has made some crazy experiments possible, and I will continue to use It in future projects.
Special thanks to the developers of these tools, and for taking the time and effort to share them.
Check out the original post.
The code in this article was generated using Codye