How to control a robot with your hands: merging iOS Vision and ROS
19 Jul 2020How to control a robot with your hands: merging iOS Vision and ROS
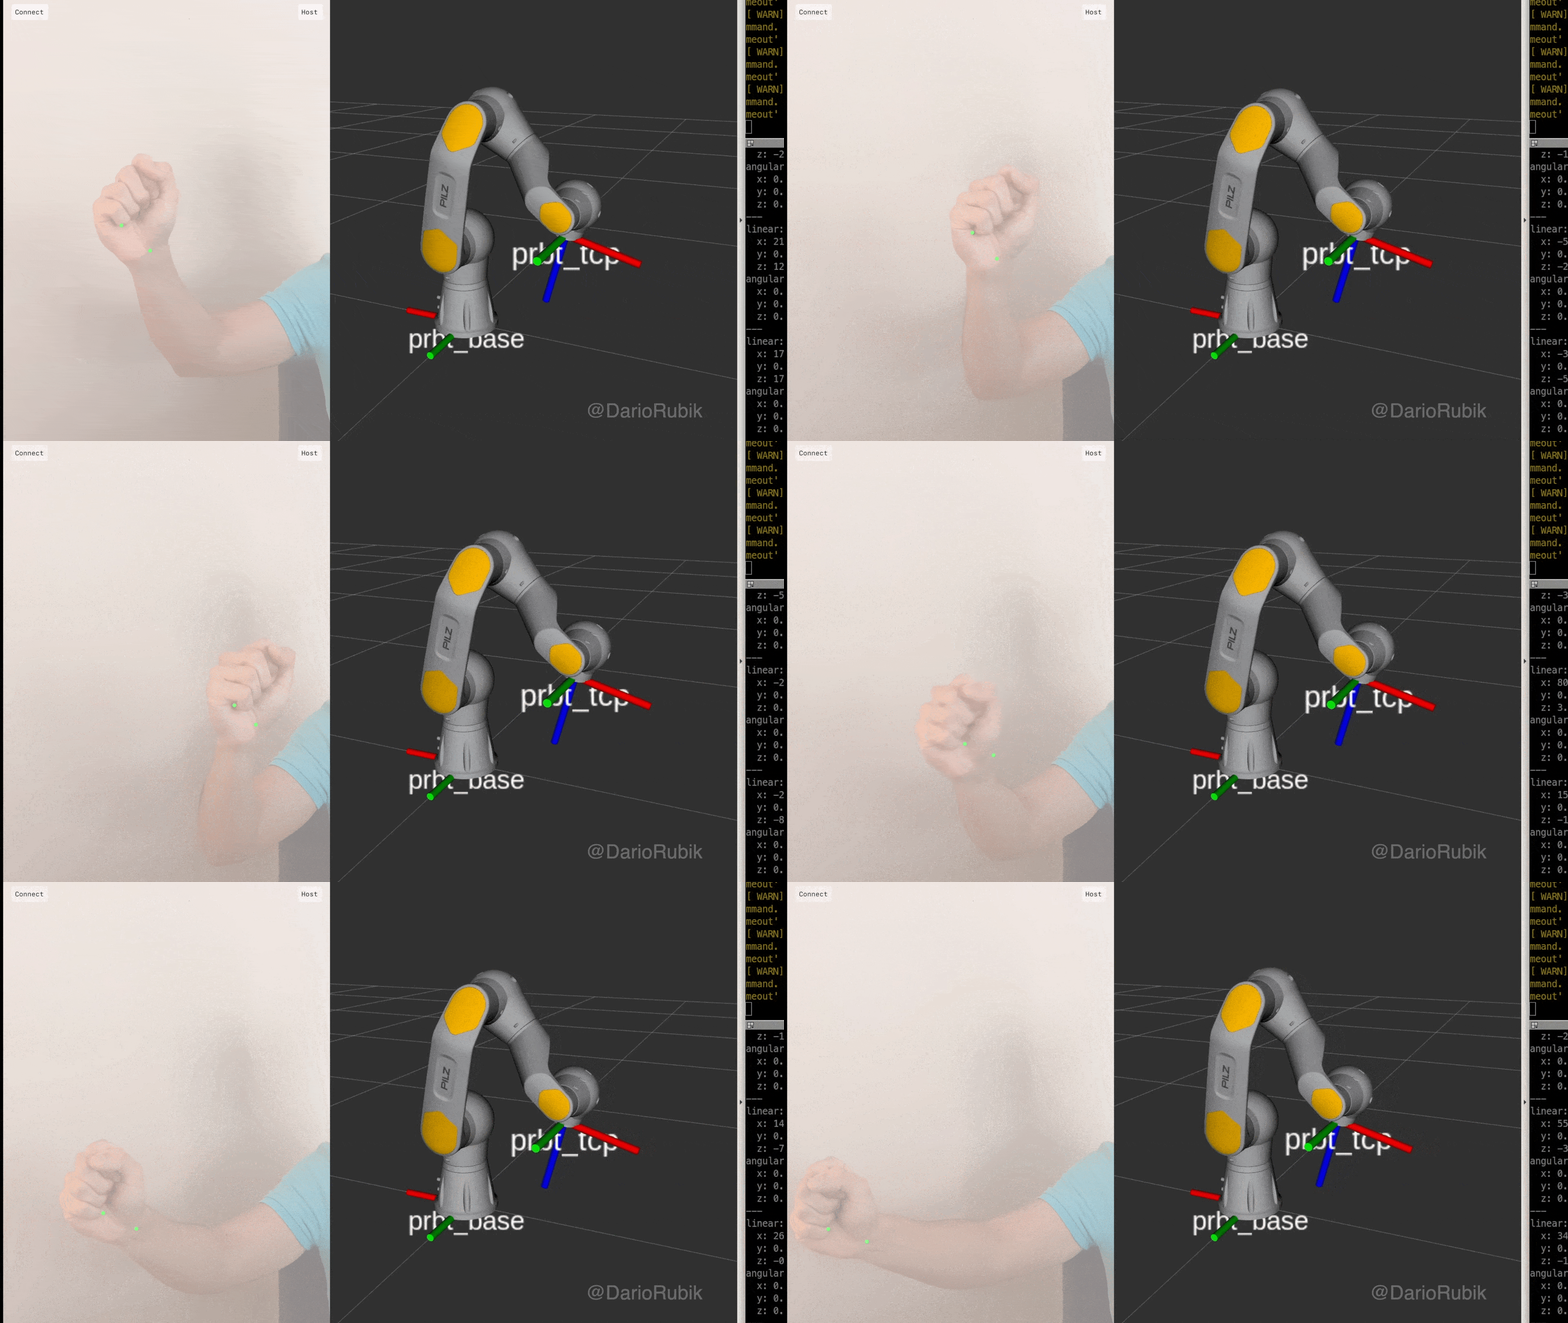
Often while developing and describing robot movements with colleagues, I find myself moving my hands to mimick the pose and movement of a manipulator. It's just the most organic way to describe movement as humans, and this is where I had the idea to create this demo: What if I could move a robot manipulator by just using my hands' movement?. In this post I'll outline some of the techniques and resources employed in this demo.

Controlling the PRBT with hand gestures
High-Level Architecture

High level overview of the system
The main components in this setup are:
- Sensor & Vision: iPad Pro 2018
- Robot system & control: ROS PC
They are communicated via the roslibjs library, thanks to the great RBSManager Swift framework.
Vision System: iOS 14
The vision system leverages the new iOS 14 Vision APIs. To get started with them, I recommend watching this year's WWDC session.

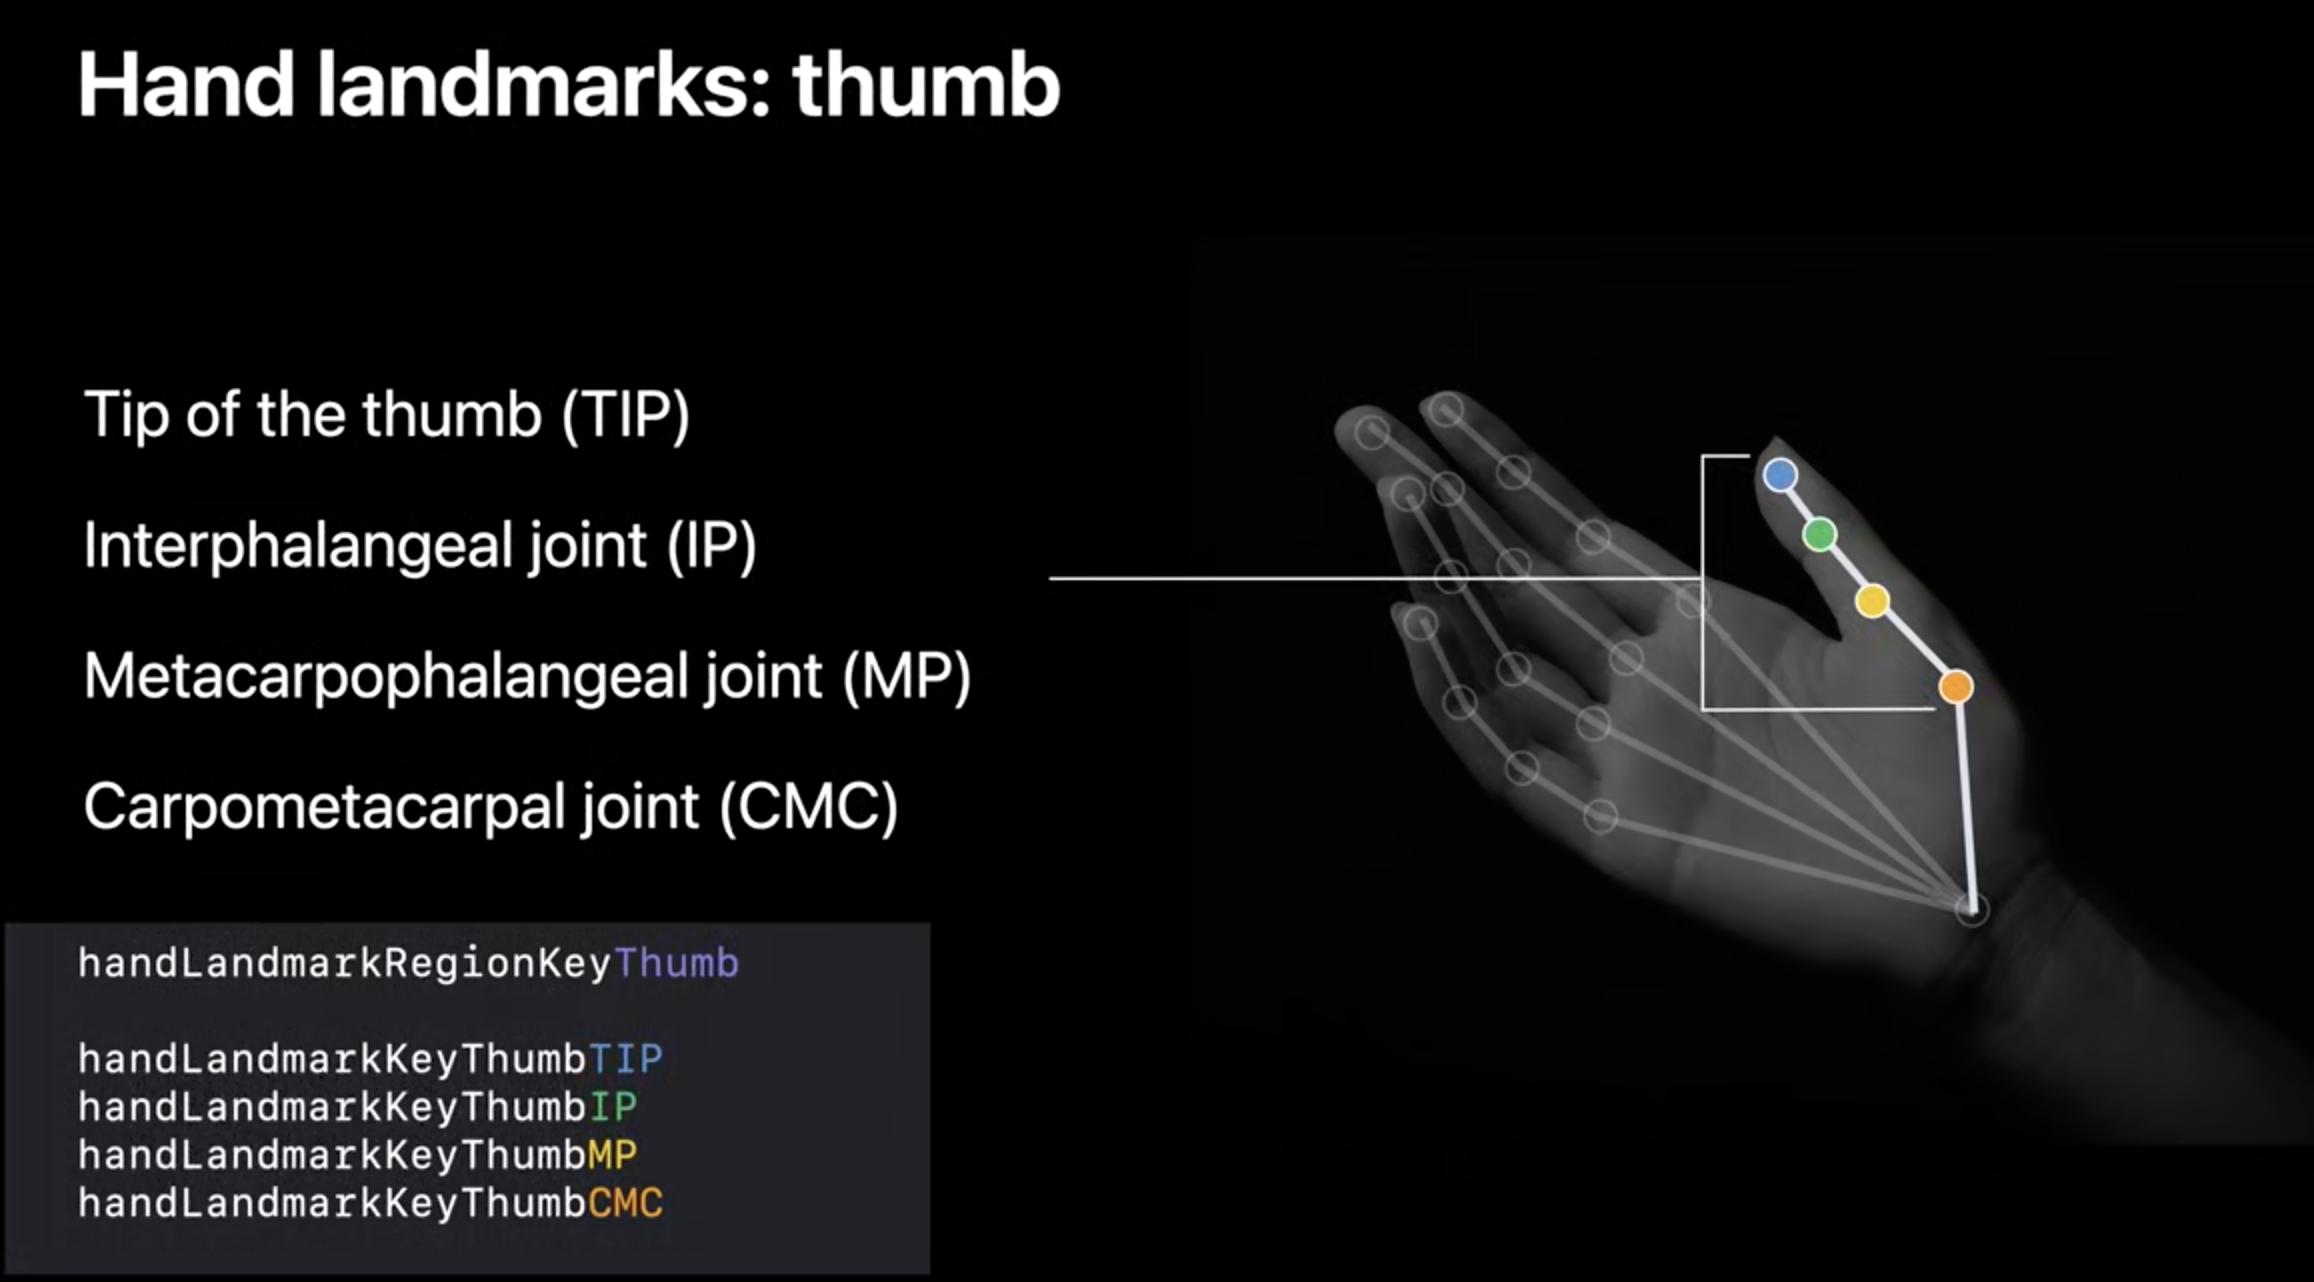
Hand Pose landmarks, from WWDC 2020.
The interesting part here is the ability to detect specific landmarks within a hand. In this demo I decided to control the robot in the following manner:
- Open hand -> No robot control, landmark trackers in red color.
- Closed fist -> Control robot. I chose this because it was both easy to develop and very intuitive, like grabbing the robot directly. Trackers in green color.
In order to detect these different hand poses I recieved the handLandmarkKeyWrist (for the wrist), and handLandmarkKeyLittleTIP for the little finger's tip.
 // Get points for wrist and index finger.
let wristPoints = try observation.recognizedPoints(forGroupKey: .all)
let indexFingerPoints = try observation.recognizedPoints(forGroupKey: .handLandmarkRegionKeyLittleFinger)

// Look for specific landmarks.
guard let wristPoint = wristPoints[.handLandmarkKeyWrist], let indexTipPoint = indexFingerPoints[.handLandmarkKeyLittleTIP] else {
                return
}
Applying some heuristics, I was able to detect the hand closed/open status with relative reliability.
The next step is computing the difference in position with the help of a local variable, and finally sending It to the roslibjs client as a Twist ROS message.
wristCGPoint = CGPoint(x: wristPoint.location.x, y: 1 - wristPoint.location.y)
let oldWristvalues = CGPoint(x: currentWristPoint?.x ?? 0.0, y: currentWristPoint?.y ?? 0.0)
currentWristPoint = wristCGPoint

if gestureProcessor.state == .pinched {

    // Note the multipliers at the end, in order to convert from pixels to reasonable Twist values.
    let dx = ((currentWristPoint?.x ?? 0.0) - (oldWristvalues.x)) * 3550
    let dy = ((currentWristPoint?.y ?? 0.0) - (oldWristvalues.y)) * 3450

    // Assigning x and y depends on screen orientation, definitely a WIP
    self.sendTwistMessage(x: Float(-dy), y: 0, z: Float(-dx), roll: 0, pitch: 0, yaw: 0)

}
At this point all that is needed is properly setting up the robot system to expect Twist messages.
Robot System : ROS & PRBT Robot
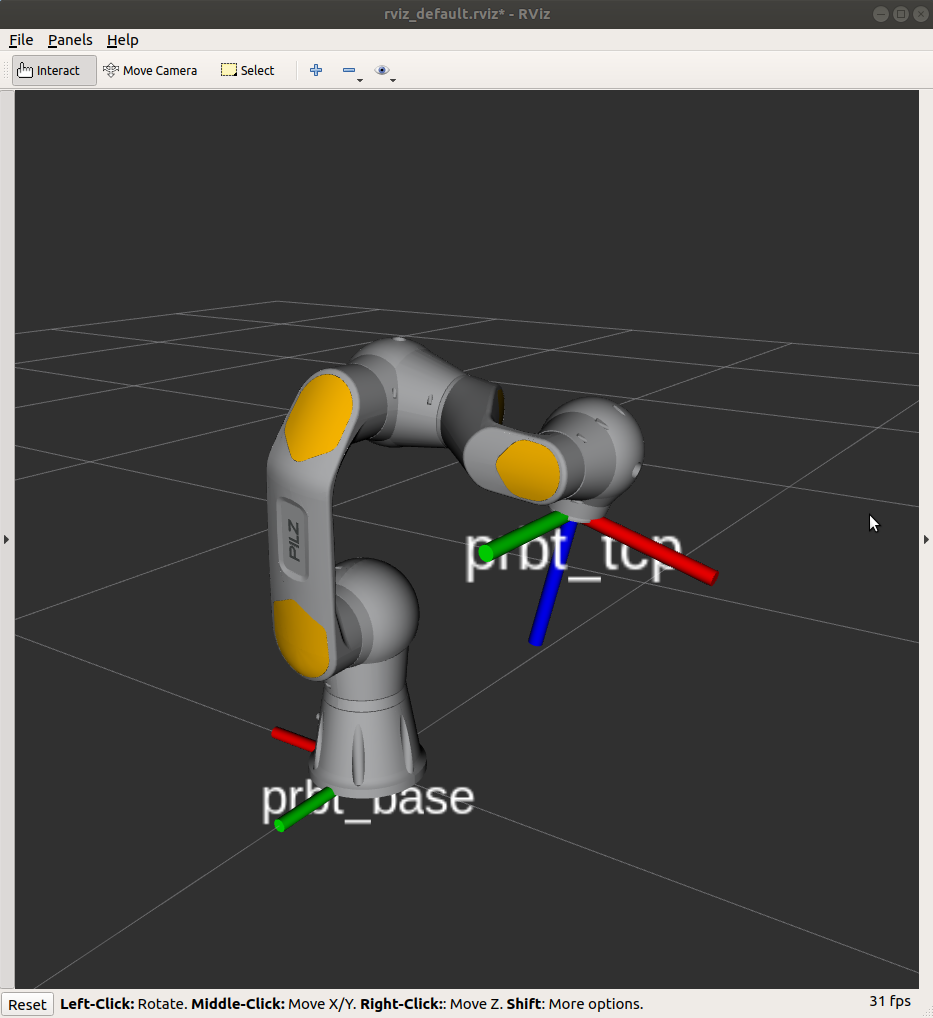
The robot I'm most familiar with is the PRBT, for its native ROS functionality and simple driver (full disclosure: It's what I do for a living). In this demo, I used the pilz_teach package for teleoperation capabilities.

The PRBT robot shown in RViz
Once the pilz_teach package is compiled, you need to run the prbt_jog_arm_support package to bring up the robot with the control interface ready for jogging. This is important, as the standard prbt_moveit_config method will not work for jogging.
roslaunch prbt_jog_arm_support prbt_jog_arm_sim.launchLastly, you need to also bring up the teleoperation nodes:
roslaunch pilz_teleoperation key_teleop.launchAnd for communication purposes, don't forget to run the roslibjs websocket:
roslaunch rosbridge_server rosbridge_websocket.launchAnd that's about it! You can now feel like a proper Jedi controlling your robot with hand movements 🧠.
The code in this article was generated using Codye
 Share on Twitter