Creating a Preferences window in Mac Catalyst with SwiftUI and UIKit
20 Mar 2021Creating a Preferences window in Mac Catalyst with SwiftUI and UIKit
Are you one of those brave developers who have clicked the checkbox? Are you looking to build a Mac-Assed Mac App? Then making a proper settings preferences panel is highly recommended. While working on my app Codye, I found there was no default or consistent way of doing this in Catalyst apps, so I've compiled some of my findings in this post.
Developing native Mac apps has become rather confusing. Depending on your current constraints, you will take different routes:
- Is your macOS app based on AppKit? Sindre Sorhus has you covered.
- Are you building an app purely based on a SwiftUI architecture (no Catalyst, or AppKit)? This project is a good starting point.
- Did you start from a UIKit (iPadOS) project? In this case, you will have to narrow It down a bit further:
- If you've already implemented a Settings Bundle, the official documentation is quite straightforward. However, this option is limited to a plist file configuration.
- If you're looking to have more complex views and re-use some (or even all!) of your iOS App's code, then read on.
Look and feel
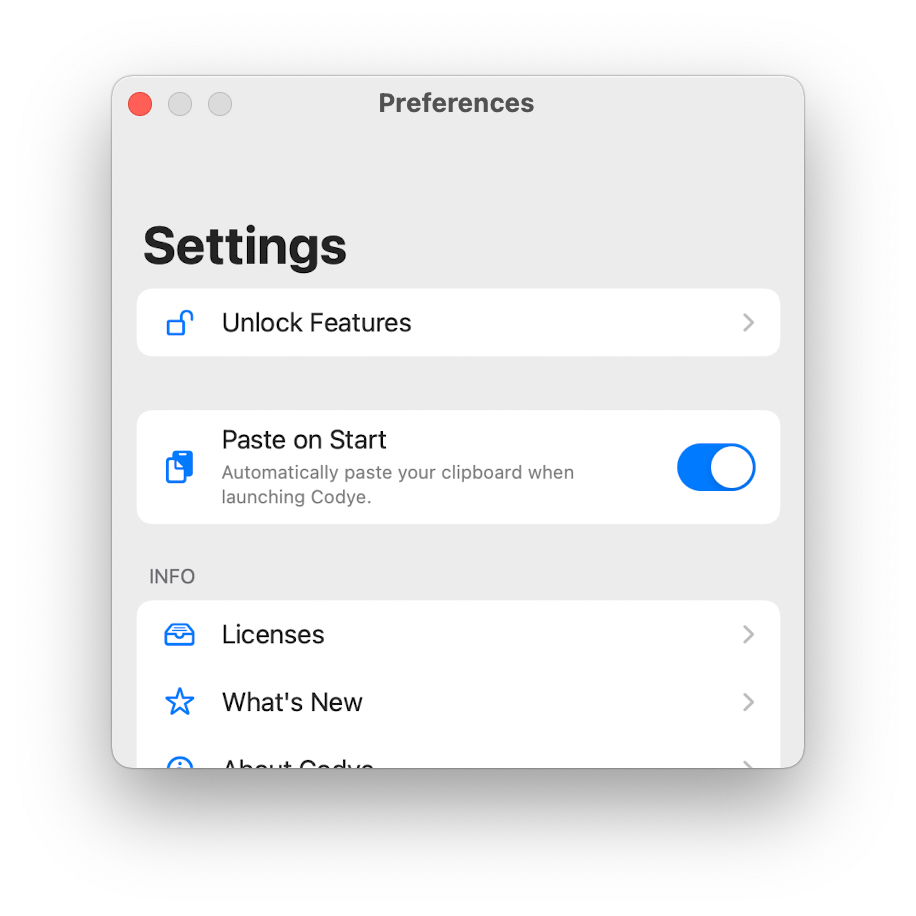
Your iOS settings pane will probably be some flavour of UITableView or UICollectionView, and might look something like this when presented in Catalyst:
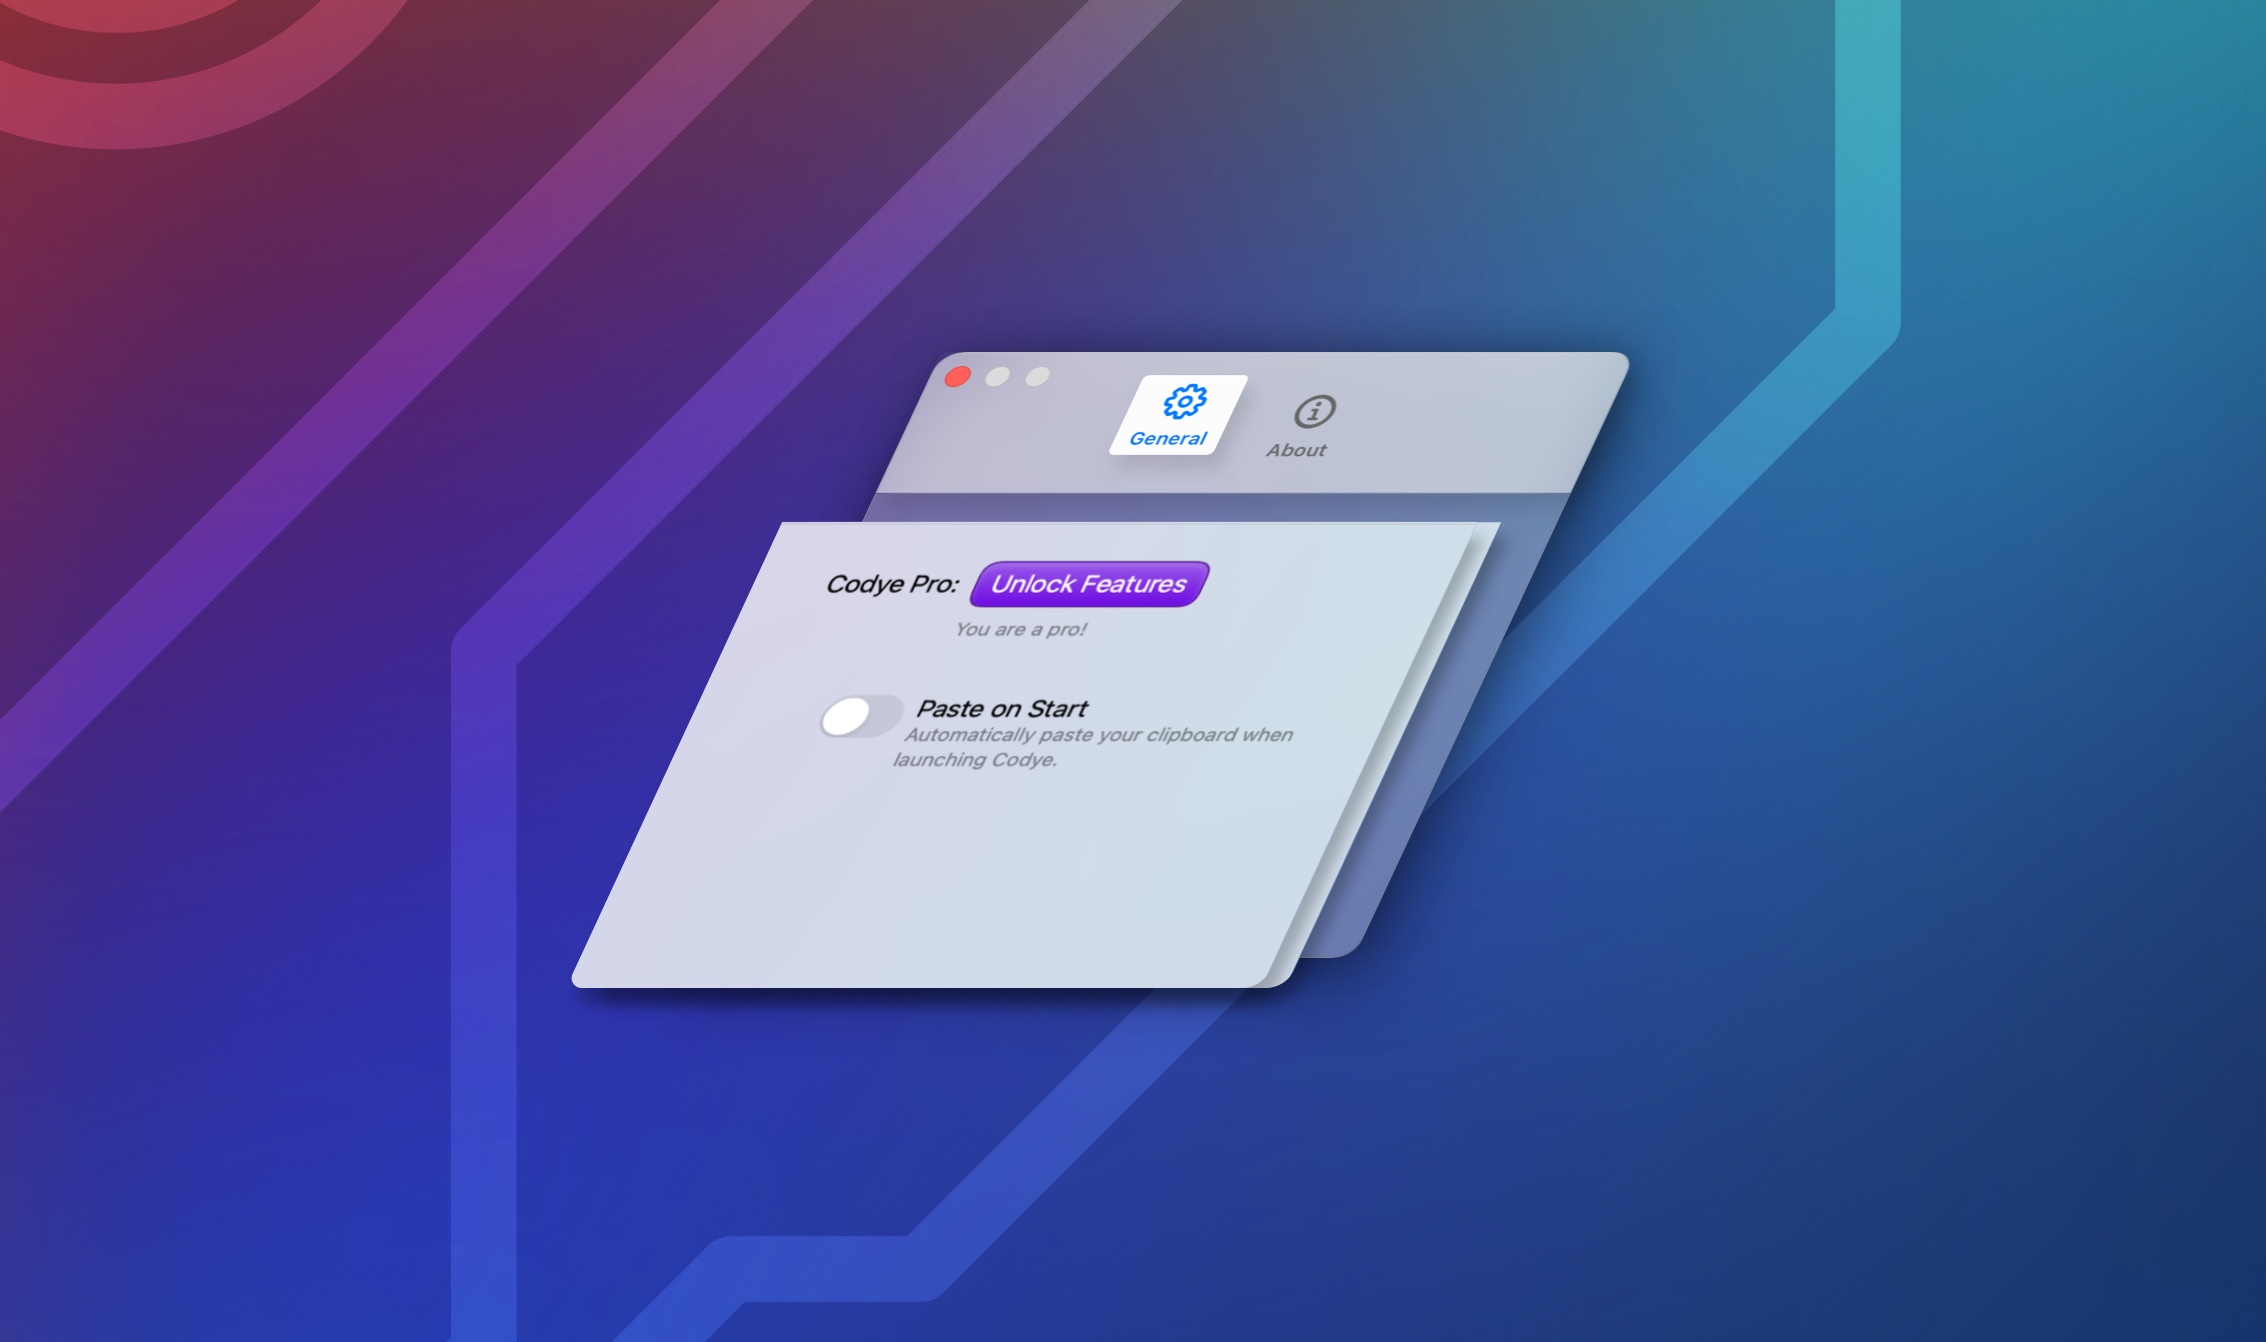
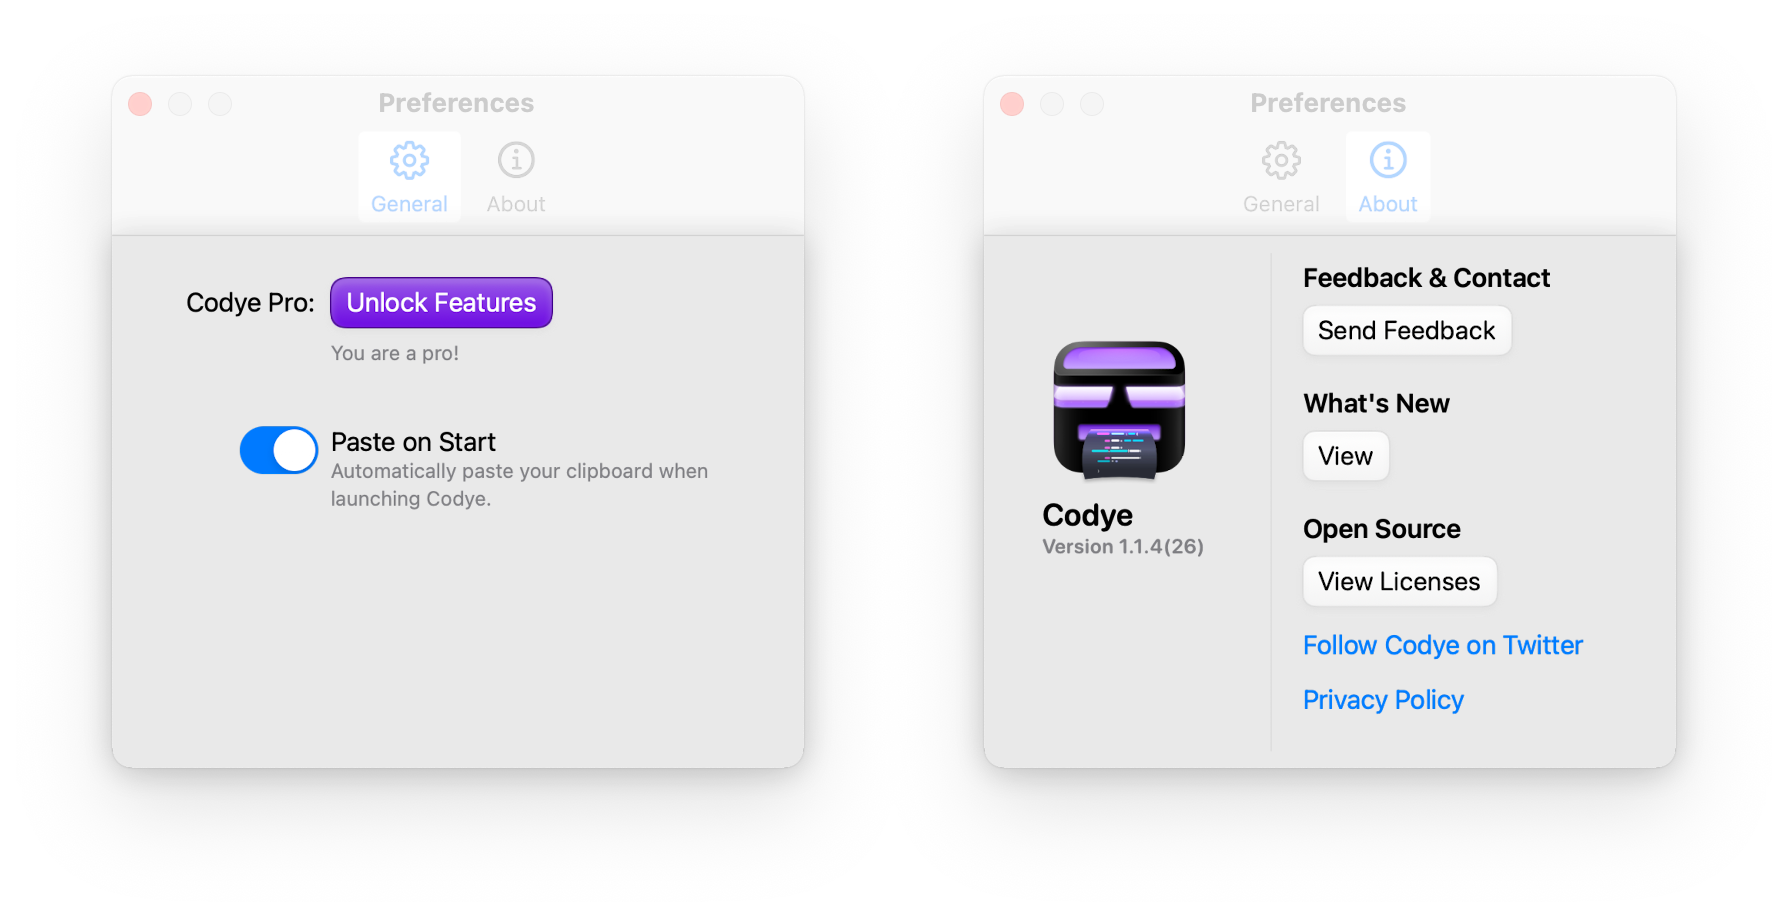
Our end goal is a window that looks more at home in macOS, with a toolbar and the rest of the space dedicated to the content:
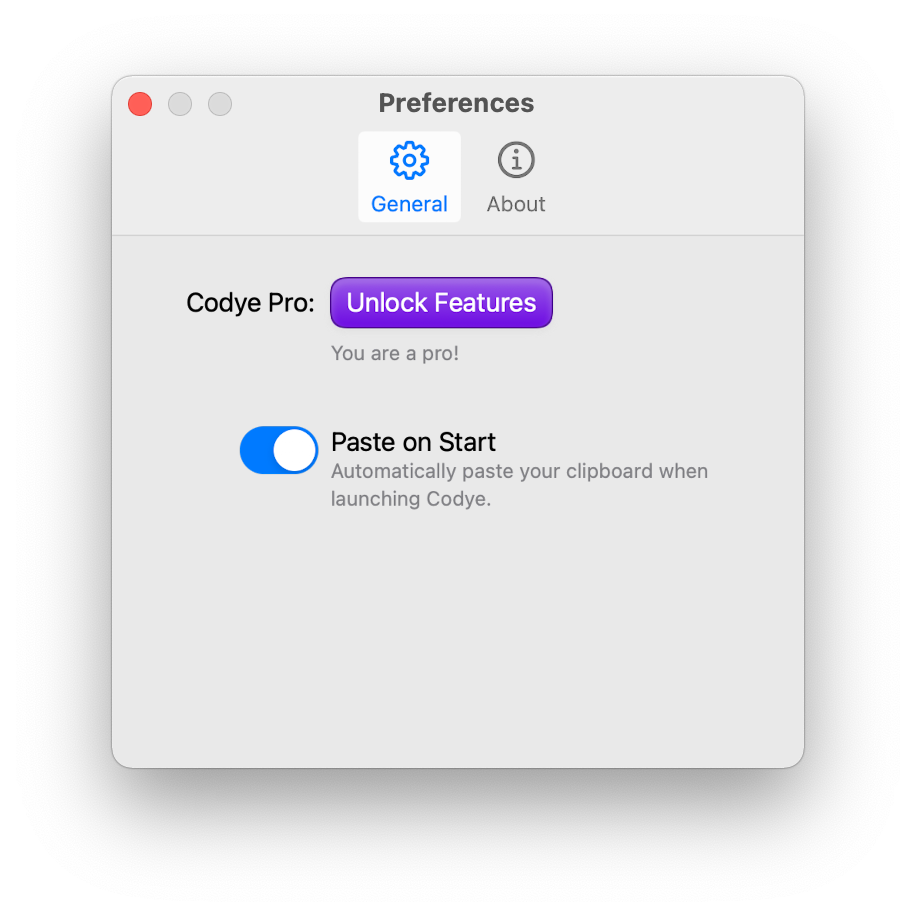
There's also more considerations, such as hover gestures for the toolbar buttons and window resizing. It's always about the details in macOS.
Component breakdown
Sice we've decided to forego the baked-in approach, and at the time of writing this there is no system API, we'll have to draw most elements of the window ourselves. To do so, I've opted for a blend of UIKit and SwiftUI to build out the UI:
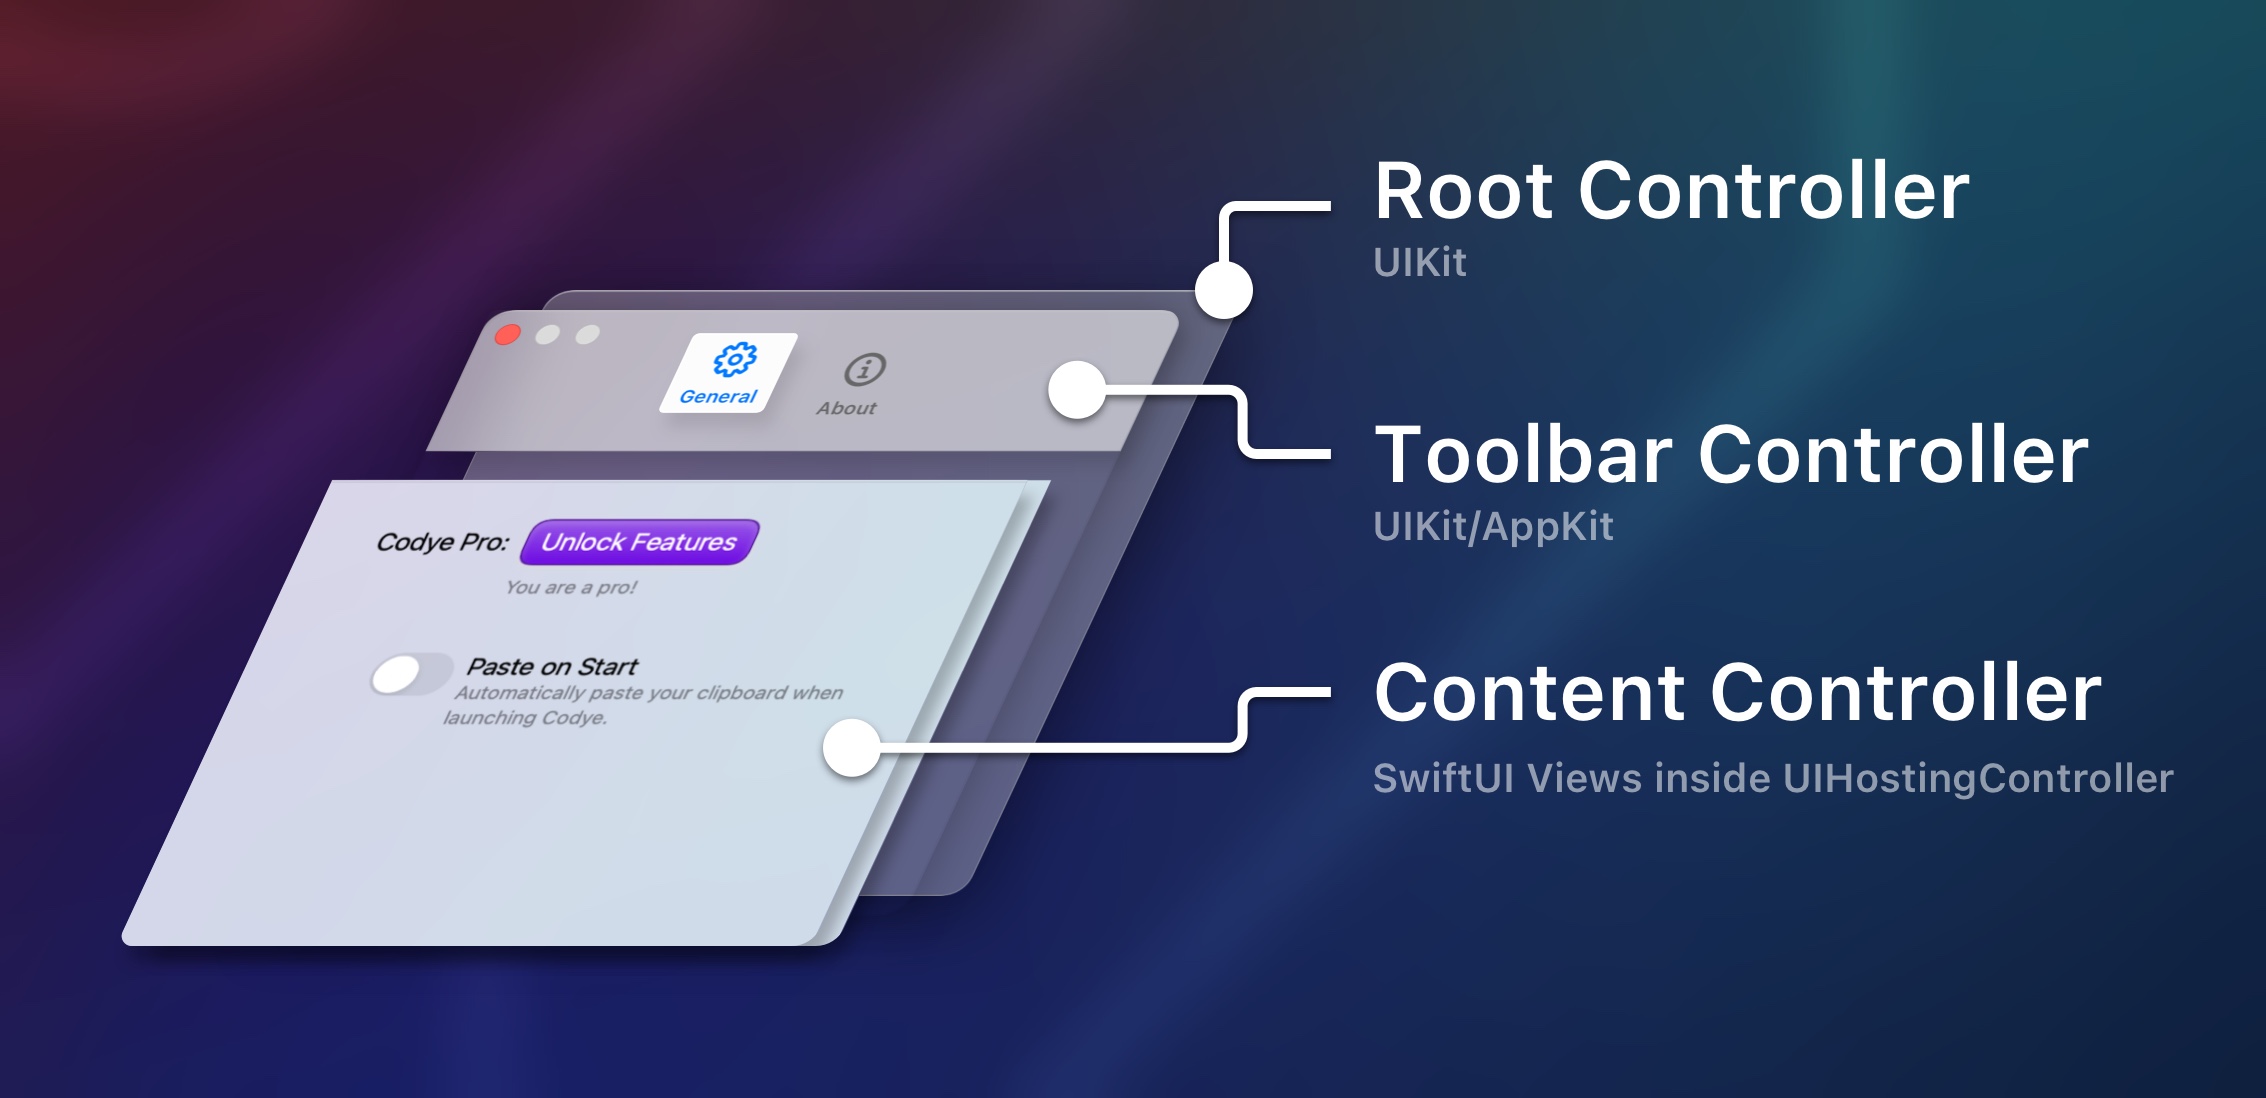
- The root component is going to be a
UIViewController. We will be nesting both UIKit and SwiftUI views inside, so If you're familiar with such tecniques, you can opt to create this component with SwiftUI. - The toolbar area will be managed by a child view controller. This is the component that prevented me from going completely SwiftUI because of the hover animations being broken inside Catalyst 14.0.
- The content area is a SwiftUI
Viewpresented as a child view controller thanks to the magic ofUIHostingController. It manages the specific views for each preferences tab.
You can opt to implement everything in UIKit if you're more comfortable with It, or with SwiftUI if you are not going to use hover effects.
The root controller
This is the view we will provide in our SceneDelegate when the settings window is being requested. Spawning macOS windows from Catalyst is out of the scope of this tutorial, but let me know if you're interested in that.
// Initialise and configure UIViewController
let macSettings = MacSettingsViewController()
macSettings.coordinator = self.coordinator

// Pass during scene setup
window?.rootViewController = macSettings
The toolbar controller
Whether we opt for system or custom, we must set the style of the toolbar accordingly:
// Toolbar setup - in SceneDelegate.swift
if let titlebar = windowScene.titlebar {

 	titlebar.toolbar = toolbar
	titlebar.titleVisibility = .visible

	// Set the toolbar style as preference
	titlebar.toolbarStyle = .preference

}
The system way
This component will be in charge of displaying the tab buttons. I've gone for a more complicated alternative, but you can save yourself some time by following this guide.
The custom way
Since I wanted a bit more control over the appearance and a consistent look across macOS versions, I've laid out the toolbar manually. To get the height right, we will be setting the toolbarStyle and using the layout guides to size the child view controller inside the root one:
NSLayoutConstraint.activate([
	toolbarController.view.leftAnchor.constraint(equalTo: self.view.leftAnchor),
	toolbarController.view.rightAnchor.constraint(equalTo: self.view.rightAnchor),
	toolbarController.view.bottomAnchor.constraint(equalTo: self.view.safeAreaLayoutGuide.topAnchor),
	toolbarController.view.topAnchor.constraint(equalTo: self.view.topAnchor)
])
It is also important to set the window titlebar visibility to transparent. This can be achieved with Dynamic or embedding an AppKit bundle in your Catalyst project:
// Access the NSWindow instance
window.titlebarAppearsTransparent = true
Since I wanted a more custom look, I manually recreated this UI as close to a system macOS settings panel as possible, with mouseover (hover) interactions and using the system tint. Once again, you can get creative with your icons or styling here, but you're probably better off just using a system toolbar.
The Content View
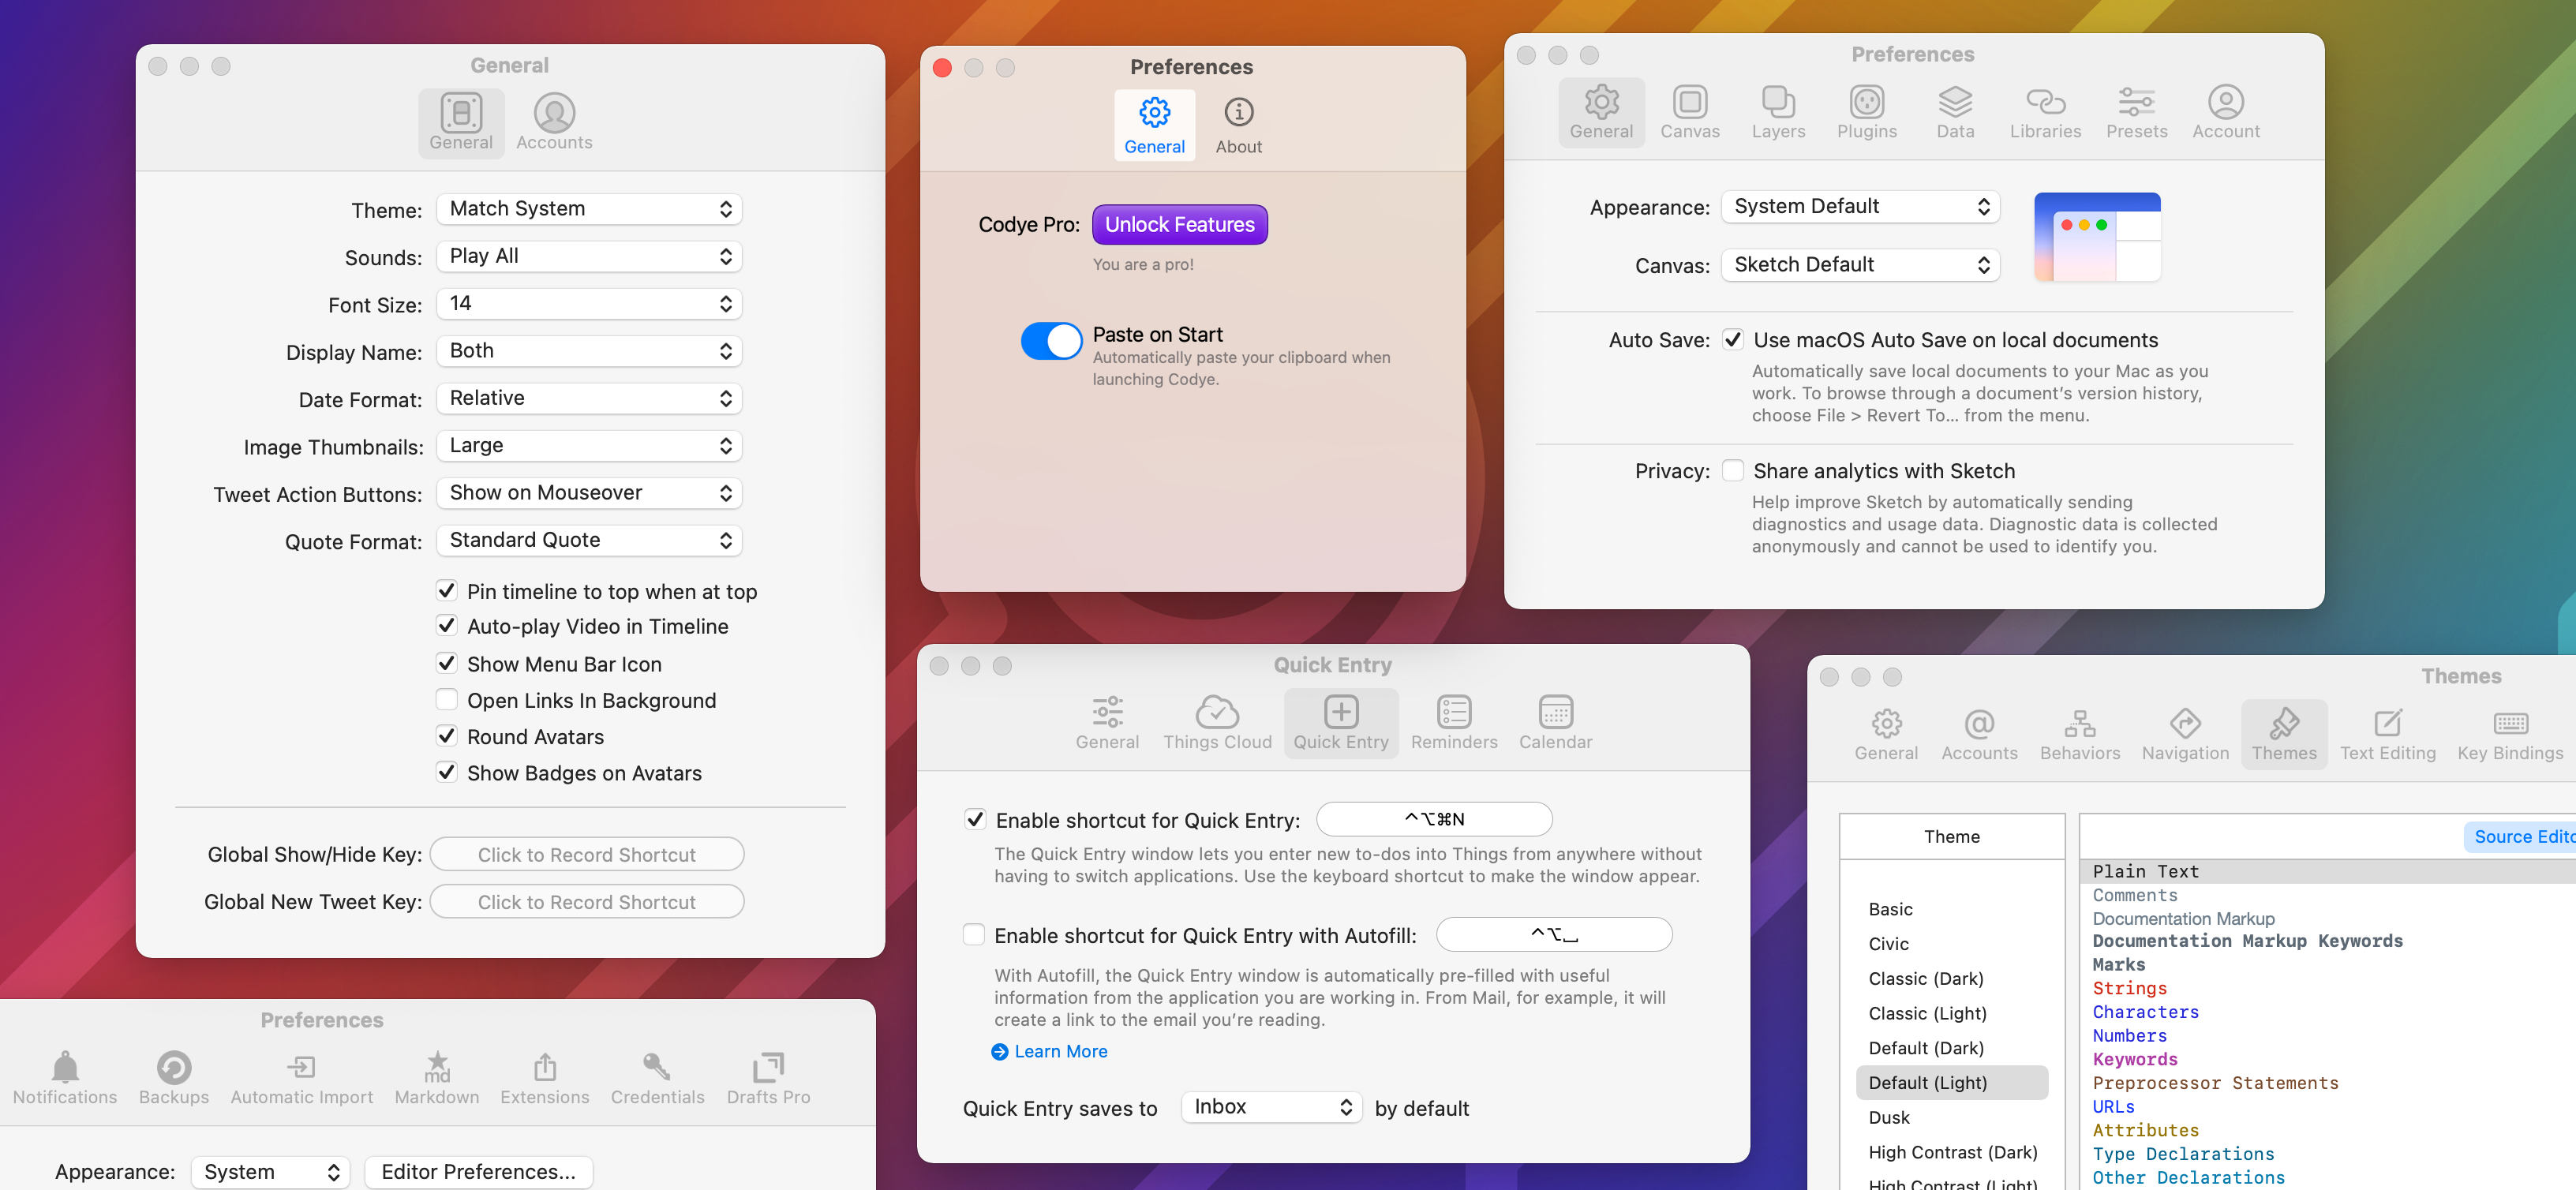
The content of each settings tab will be largely depend on your app, and how you want to structure It. By making this a SwiftUI view, you have complete freedom deciding what will go into It, but It's a good idea to take a look at other apps and see how they present them.
Some controls will be different depending on your setting for the "Optimized for Catalyst" mode. Chief among them Toggle and UISwitch which will be shown as a macOS style checkbox or an iOS toggle depending on your configuration. The optimized mode is obviously better, but be aware that some UIKit controls don't work at all.
Conclusion
Hopefully this post has brought you closer to building a first-class macOS citizen. Developing for Catalyst has its hurdles, but there's excellent apps in the wild that prove you can build a truly great piece of software for the Mac with an iOS codebase.
You can check out my app Codye and try this Preferences panel for yourself.